Some tools of the trade. The foam whizzer didn't roll the Epoxy very well in the cold. I used fst hardener.
  This is about 2.5 gallons of sanding dust from a hardwood floor resurfacing.
  Time for a beverage.
Some tools of the trade. The foam whizzer didn't roll the Epoxy very well in the cold. I used fst hardener. This is about 2.5 gallons of sanding dust from a hardwood floor resurfacing. Time for a beverage.
Time for a beverage.
Some tools of the trade. The foam whizzer didn't roll the Epoxy very well in the cold. I used fst hardener. This is about 2.5 gallons of sanding dust from a hardwood floor resurfacing. Time for a beverage.
 The bottom glass is made of 6 oz "e" glass and the sides will be 4 oz.
 The bottom glass is 60" wide and the sides came in at 50" wide. I measured from the longest point of the transom to stem added 2' to the length and cut it. I the rolled it out on the clean...clean... oh did I say clean floor and cut it down the center of its length.
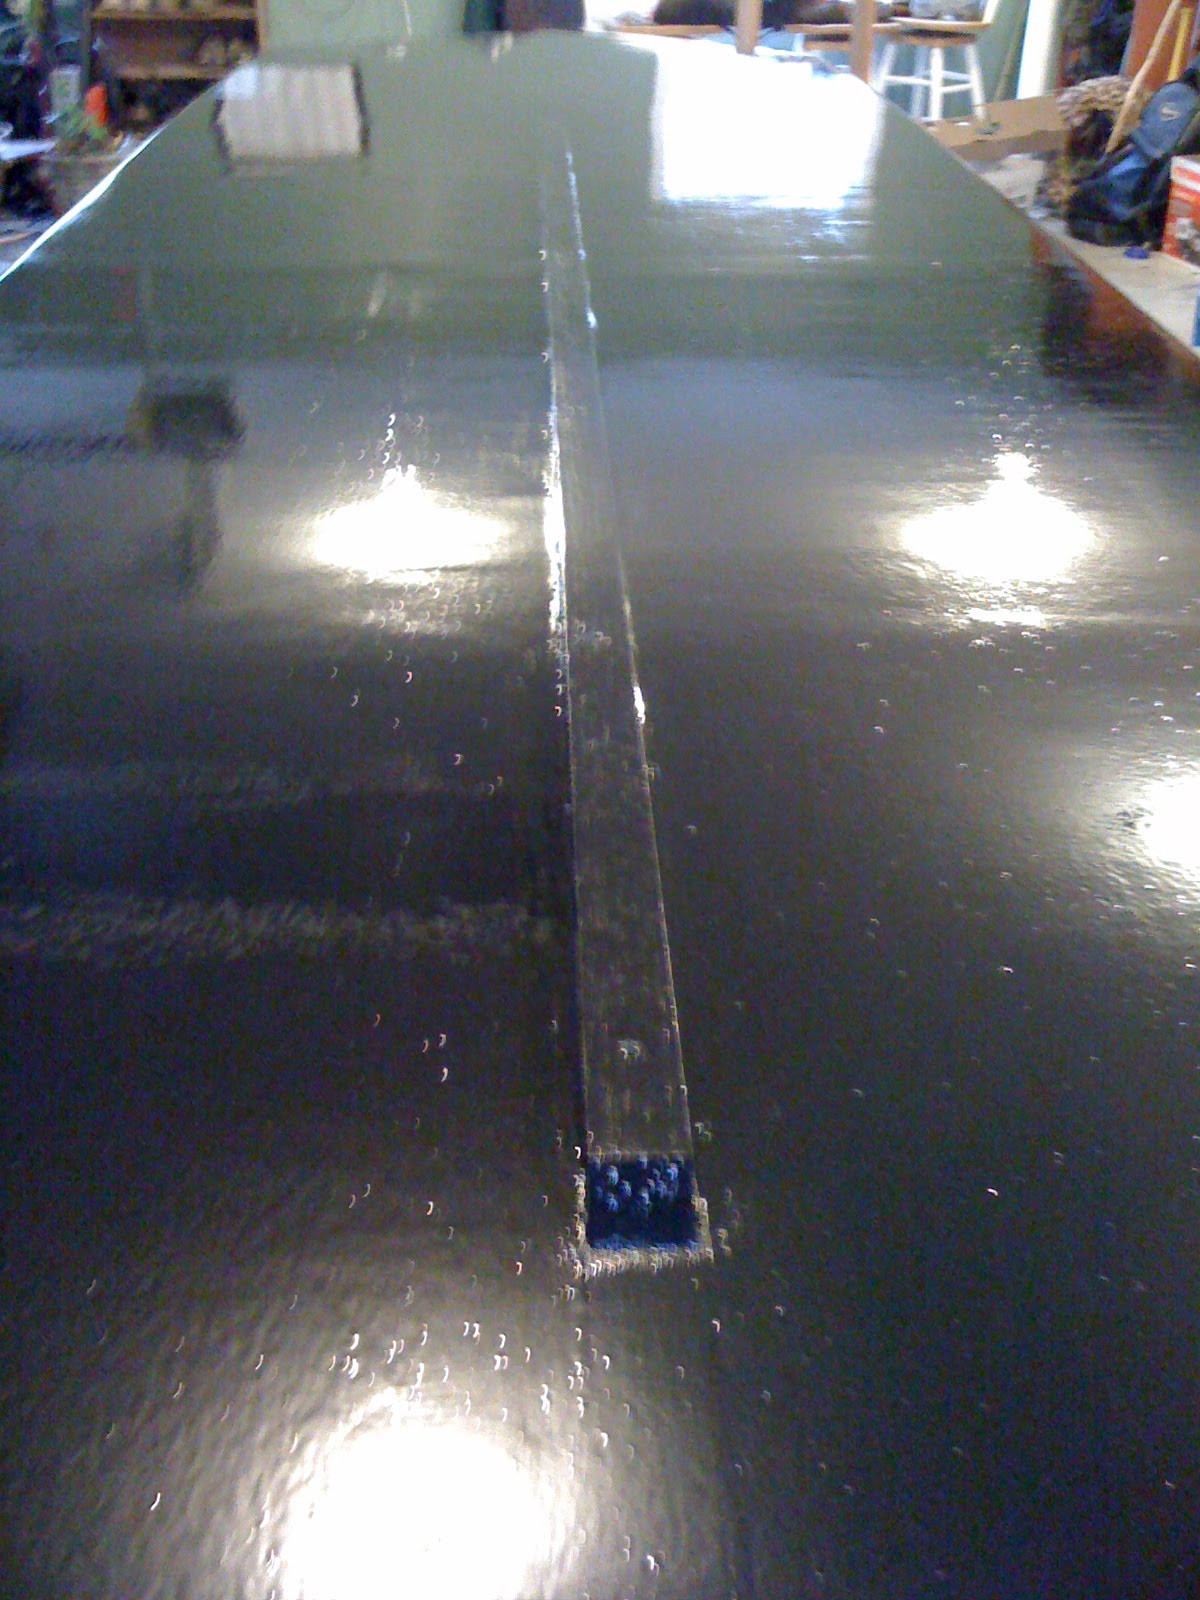
 I am jumping ahead in the boats process to group these blogs together. At this point I have already glassed the hull. When I got to the drain holes I made an "X" cut and folded the glass in the hole. I then let the epoxy dry and sanded any rough spots. When I was done with the first fairing I add filler to the fairing to make a paste. I then installed the brass tubes.
 Here is a look after sanding.
 Find the location you want the drain plug. I always try to drill parallel to the bottom plywood.
 I usually use a hole saw but this time I wanted to try something different. I wanted to drill the hole over sized and fill it in with epoxy and filler when I glassed the boat.
 Here you can see how I try to leave a hairs worth of the transom wood between the hole and the bottom.
 Drilled out. This process always makes me nervous.
 Perfect. Now do the other side of the keelson. Yes there is 2.
 take half the width of the butt block and make marks.
  Put the butt block in it location and mark both sides to get angle of cut.
 glue
glue press it in place and screw. Don't over tighten the screws for now. when the glue sets go back and sink screws. this will insure the you don't squeeze all the glue out.
 unfaired
 faired
 unfaired
 faired
 Use a belt sander and smooth all the corners and seams